For starters, please log in to cPanel and click on the Email Accounts icon under the Mail Section.

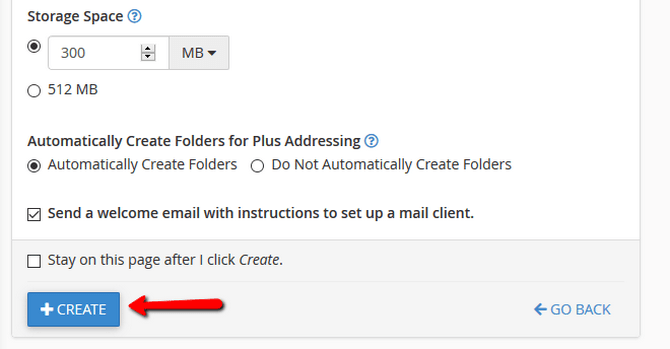
That will redirect you to the Email Accounts page via which you can create, delete, and manage your existing accounts. To create a new email address, click on the Create button at the bottom of the description settings.

Now you have to enter your email account name and password. There are 2 methods of creating a password:
- Set password now – Add your own or let cPanel generated a strong password for you (recommended).
- Provide alternative email – Receive a password configuration link via email to complete the setup.

We highly recommend the use of a unique and robust password as that will protect you from random guesses and sequential access. The latter can happen when you use one password for multiple websites, and one of them gets compromised, which makes your other accounts vulnerable. This, along with not using dictionary words as whole passwords are all parts of the security best practices that help you protect your online identity.
Next, you have to set up your email’s quota. The Storage Space is the maximum size of your email account. If this quote is reached, all new emails will bounce back to the sender until enough space is available. You can configure the size manually or select the limit quota for your hosting plan if you are using a shared package.
Note: The Storage Space field only works with whole numbers so you can go to a lower unit of size measurement for more precise tuning.

Click on the Create button to complete the setup once you are ready with all of the fields.


